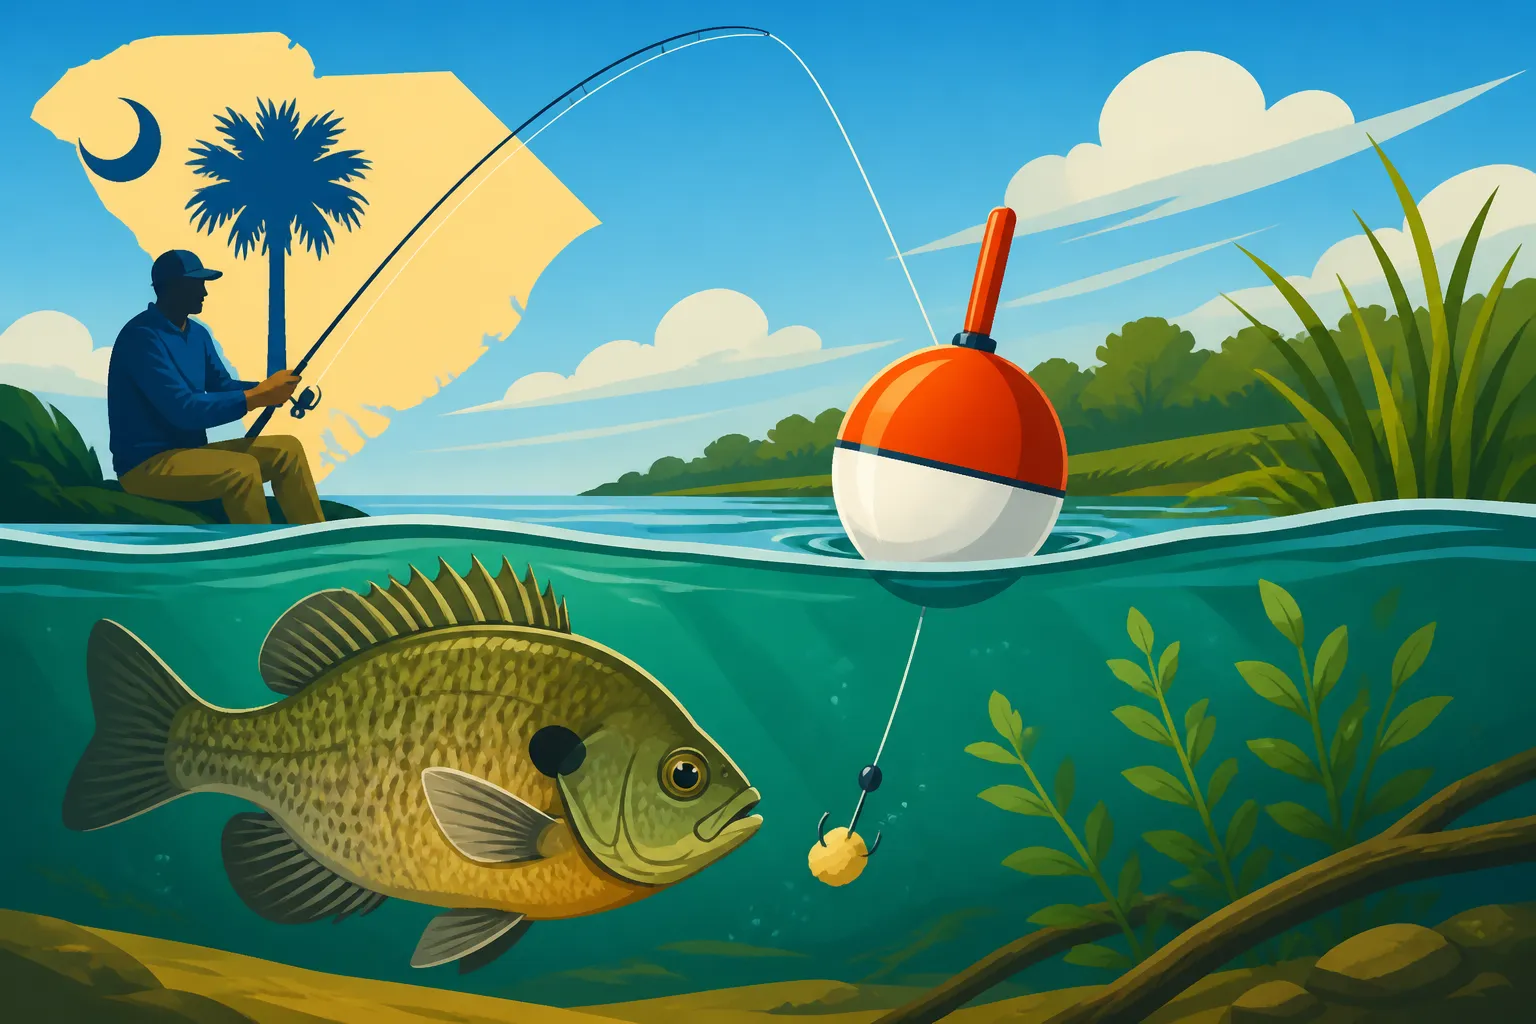
How to Fish a Bobber for Bream
There's something truly special about fishing for bream with a bobber in South Carolina. Maybe it's the simplicity of it, or perhaps the way it often brings back childhood memories. But let's be honest, even something as "simple" as bobber fishing can sometimes leave you scratching your head, wondering why the fish aren't biting or why your rig keeps tangling. This comprehensive guide is here to walk you through everything you need to know, from understanding these feisty little fish to setting up your tackle and mastering the subtle art of reading that bobber, so your next outing is a resounding success.
What Makes Bream Such a Great Target for Bobber Fishing?
Bream fishing, often with a simple bobber, is a beloved pastime across South Carolina, and for good reason! These eager-to-bite fish are abundant, put up a surprisingly spirited fight on light tackle, and are accessible to anglers of all ages and skill levels. Understanding why they respond so well to this technique is the first step to consistently catching them.
The Bream Family: More Than Just Bluegill
When folks in South Carolina talk about "bream," they're usually referring to a whole family of sunfish, not just one specific species. While bluegill are undoubtedly the most famous members of this group, you'll also frequently encounter redbreast sunfish, redear sunfish (often called "shellcrackers"), green sunfish, and even warmouth. Each has its own subtle characteristics, but they all share a common trait: a fondness for readily available food presented near cover.
Bluegill, with their distinctive dark "ear flap" and vibrant blue and orange hues, are perhaps the most widespread and aggressive biters. You can find them in almost any freshwater pond, lake, or slow-moving river in the state. Redbreast sunfish, true to their name, boast a brilliant orange-red belly and prefer moving water, making them common catches in South Carolina's rivers like the Edisto or Congaree. Shellcrackers (redear sunfish) are named for their diet of snails and mussels, found deeper and often near hard bottoms. Knowing this diversity helps you appreciate the variety you might pull in on a given day, and generally, the same bobber fishing techniques work wonderfully for all of them.
Understanding Bream Behavior and Habitats
Bream are social creatures, often schooling together, which means if you catch one, there are likely more nearby! They tend to favor calm, relatively shallow waters, especially those with plenty of cover and structure. Think lily pads, dense aquatic vegetation, submerged logs, brush piles, fallen trees, and even boat docks or piers. This cover provides them with safety from predators and a ready supply of their favorite meals.
Their diet primarily consists of insects, insect larvae, small crustaceans, and even tiny fish eggs. This varied menu makes them susceptible to a wide range of natural baits and small artificial lures, all of which can be presented effectively under a bobber. They're not usually ambush predators like a largemouth bass; instead, they forage methodically, often picking at food items. This gentle feeding behavior is precisely why a sensitive bobber is so crucial – it signals those subtle nibbles before the fish fully commits to taking the bait.
Understanding these preferences means you're not just casting aimlessly. Instead, you're targeting specific areas where bream are likely to be hiding and feeding, dramatically increasing your chances of success. If you're looking for more general places to target, check out our guide on the South Carolina's Best Ponds for Panfish Fishing.
Assembling Your Perfect Bream Bobber Rig
One of the beautiful things about bream fishing is that you don't need a boatload of expensive gear. In fact, keeping it simple is often the best approach. However, having the right simple gear makes all the difference between a frustrating day and a fantastic one.
Choosing the Right Rod, Reel, and Line
For bream, you want light tackle. This isn't just about making the fight more fun; it's about delicate presentation and sensitivity.
- Rod: A light to ultralight action spinning rod, typically between 5 and 6 feet long, is ideal. This length gives you good casting control without being cumbersome, especially if you're fishing from the bank or with kids. The light action means the rod tip will bend easily, allowing you to feel even the slightest tap. You can find excellent entry-level combos that include both rod and reel on sites like Amazon, making it super convenient to get started.
- Reel: Pair your rod with a small spinning reel (typically a 500 or 1000 series size). These reels are lightweight and designed for lighter lines, offering a smooth drag system that's essential when a surprisingly large bream decides to make a run for it.
- Line: Stick with 4 to 6-pound test monofilament line. Monofilament has a bit of stretch, which can be forgiving when a bream bites aggressively, and it's less visible to the fish than heavier lines. Braided lines, while strong, are often too visible and can be a hassle for beginners due to their tendency to tangle without proper technique.
Heavier gear, while capable of landing a bream, really takes away from the experience. It makes the fight less enjoyable, the casting less precise, and often spooks the fish with heavier line and hardware. The joy is in the subtle dance!
Selecting Your Bobber: Fixed vs. Slip
The bobber is your visual indicator, telling you exactly when a bream is interested. Choosing the right one is crucial.
- Fixed Bobbers: These are the classic red and white plastic round bobbers or clip-on models. They attach directly to your line at a fixed point. They're fantastic for shallower water, typically when your bait needs to be less than the length of your fishing rod from the bobber. They're easy to use and widely available.
- Slip Bobbers: A slip bobber has a small hole running through its center, allowing your fishing line to "slip" through it. A small stop knot (a piece of string tied onto the line) sets the depth, and a bead keeps the knot from pulling into the bobber. Slip bobbers are perfect for fishing in deeper water, as you can reel the bobber right down to your hook, making casting much easier than with a long fixed-bobber setup. Once cast, the bait sinks, and the bobber "slips" up the line until it hits the stop knot, presenting your bait at the desired depth. This can be a game-changer when you're targeting bream suspended over deeper brush piles.
- Sensitivity and Size: Regardless of type, opt for smaller, more sensitive bobbers. A bream's bite can be very delicate, and a large, buoyant bobber will make it harder to detect. The goal is for the bobber to offer just enough buoyancy to float your bait and minimal weight, reacting instantly to a fish's pull. Often, a simple pencil bobber or a small, round bobber will be more effective than a large one meant for bigger fish. The color (red/white, yellow, or even fluorescent green) is mostly about your visibility, so choose what stands out best against the water conditions.
Hooks, Weights, and Swivels: The Business End
These tiny components are vital for a successful rig.
- Hooks: Small hooks are paramount. Bream have relatively small mouths, so a large hook will either miss them entirely or not allow them to get a good bite. Sizes 6, 8, or 10 are generally perfect. Look for thin-wire hooks, as they penetrate easily and are less likely to tear the fish's delicate mouth.
- Weights (Split Shot): You'll need just enough weight to help your bait sink and to properly set the bobber so it stands upright. Too much weight makes your presentation unnatural and can make the bobber less sensitive. Usually, one or two small split shot weights, pinched onto the line about 6-12 inches above your hook, is all you need. Place them strategically – sometimes closer to the hook for faster sinking, sometimes higher for a slower, more natural fall.
- Swivels (Optional): A small barrel swivel (size 10-14) can be helpful to prevent line twist, especially if you're using live bait that spins. Attach it above your split shot, and then tie a shorter leader (6-12 inches) to the other end for your hook. This also makes it easy to change out your hook or leader if it gets frayed.
Baiting Up: Bream's Favorite Snacks
Bream aren't picky eaters, which is another reason they're so much fun to catch! However, some baits are definitely more effective than others.
| Bait Type | Pros | Cons | Best Uses |
|---|---|---|---|
| Live Crickets | Irresistible movement, strong scent, natural food source. | Can jump off hook, messy, need to keep alive. | All bream species, especially in warmer water. |
| Redworms/Worms | Widely available, easy to keep, universal appeal. | Can be less active than crickets, smaller pieces for smaller mouths. | All bream, good for slower bites or deeper water. |
| Mealworms/Waxworms | Great for smaller bream, very active, easy to handle. | Smaller size means more frequent re-baiting. | Panfish, particularly bluegill and smaller sunfish. |
| Small Jigs/Grubs | Reusable, variety of colors, can entice aggressive bites. | Requires some rod action (jigging), less natural scent. | When fish are more active, for targeting specific depths. |
| Corn/Bread | Super cheap, readily available. | Falls off hook easily, can attract nuisance fish. | Emergency bait, good for kids, still effective. |
For live bait, thread a worm onto the hook so it dangles naturally, or hook a cricket gently through its collar to keep it lively. For artificials, a small jig (1/32 to 1/16 ounce) with a tiny plastic grub tail in chartreuse, white, or black can be deadly, especially when tipped with a mealworm. You can find a wide variety of these baits and small jigs conveniently on Amazon or at any local tackle shop. Knowing your options allows you to adapt to what the bream are biting on that day. For more on this, check out our piece on the Best Bait for Catching Bluegill.
The Art of Fishing a Bobber for Bream, Step by Step
Now that you've got your gear ready, let's talk about the actual process of getting that bait in the water and those bream on the hook. It's a blend of setting up your rig correctly, gentle technique, and learning to read the subtle language of your bobber.
Rigging Up Your Line for Success
Proper rigging is fundamental to effective bobber fishing. A simple, balanced setup will cast smoothly and present your bait naturally.
- Attach Your Bobber: If using a fixed bobber, clip it onto your main line. If it's a slip bobber, slide it onto your line first, followed by a small bead, and then tie on your stop knot. The stop knot should be adjustable so you can easily change the depth later.
- Add Your Weight: Crimp one or two small split shot weights onto your line, usually 6 to 12 inches below your bobber (or below the stop knot/bead if using a slip bobber). The exact distance can vary; a longer leader gives your bait more natural movement, while a shorter one keeps it closer to the weight for faster sinking.
- Tie On Your Hook: At the very end of your line (or leader, if using a swivel), tie on your small bream hook. Strong, reliable knots are essential. The Palomar knot is excellent for strength and ease of tying, or an improved clinch knot works well too. Practice these at home so you're not fumbling by the water.
- Set Your Depth: This is critical. Bream are often found in relatively shallow water, but "shallow" can mean anywhere from 1 foot to 6 feet, depending on the specific spot and time of day. A good starting point is usually 2-3 feet. Adjust your bobber (or stop knot) so your bait will hang at this depth. If you're fishing near lily pads, you want your bait just above the bottom or just below the pads. If fishing a brush pile, aim to suspend your bait around the top or middle of the structure, avoiding snags on the bottom. Don't be afraid to experiment with depth if you're not getting bites.
Casting with Precision and Patience
A gentle, accurate cast is more important than a long one for bream.
- Look for Structure: Scan the water for those bream hotspots: edges of lily pads, submerged logs, shady spots under docks, or areas where the bank drops off. Remember, bream love cover!
- Gentle Casting: With light tackle, you don't need to muscle your cast. A smooth, arcing cast will gently place your bait where you want it without a loud splash that could spook the fish. Aim to land your bobber softly a few feet beyond your target structure, then gently reel it back into position. This allows the bait to settle naturally without a commotion directly over the fish.
- Patience is a Virtue: Once your bait is in the water, resist the urge to constantly twitch or reel it in. Let it sit for a minute or two, allowing the live bait to wiggle or the artificial to appear like a natural food item drifting. Bream are curious and will often investigate a stationary or slowly drifting bait. You'll often find that the Best Time of Day to Catch Bluegill is during dawn and dusk, when conditions are calmer.
Reading the Bobber and Setting the Hook: The Moment of Truth
This is where the excitement really builds! Learning to interpret your bobber's movements is key.
- Subtle Twitches: Sometimes a bream will just "taste" the bait, causing the bobber to twitch slightly or lie flat on the water for a moment before returning upright. These are often warnings.
- The Dip or Drag: The most common sign is the bobber slowly dipping, wobbling, or dragging sideways. This indicates a bream has the bait in its mouth and is moving with it.
- The Disappearing Act: The most definitive sign is when the bobber goes completely under the water. This means the fish has taken the bait and is swimming away.
When you see a definitive dip, drag, or disappearance, it's time to set the hook. Don't yank violently! A quick, firm, upward sweep of the rod tip (about a foot or two) is usually all it takes with sharp, small hooks. A hard jerk will often pull the hook right out of the bream's mouth or even send it flying past your ear.
Bringing in Your Catch: The Bream Battle
On light tackle, even a small bream can feel like a trophy.
- Gentle Pressure: Once hooked, keep steady pressure on the fish. Avoid letting too much slack develop in your line, as bream can sometimes shake the hook loose.
- Enjoy the Fight: Let the fish run if it wants to, using your reel's drag. That's what light tackle is for! Guide the fish away from any snags or structure it might try to dive into.
- Landing the Fish: Bream are usually small enough to simply lift out of the water by the line or by grabbing the fish itself. If you're practicing catch and release, handle the fish gently, remove the hook quickly, and return it to the water. A pair of small pliers or a de-hooker can be useful for easy hook removal. Our article on Simple Bream Fishing Techniques for Kids further emphasizes this gentle approach.
Maximizing Your Bream Catch: Advanced Tips and Troubleshooting
Even with the perfect setup and technique, fishing can be unpredictable. Here are some extra tips to help you consistently find and catch bream, plus advice on handling common frustrations.
Adjusting to Conditions: Depth, Location, and Time of Day
Bream, like all fish, are influenced by their environment. Being willing to adapt is crucial for success.
- Depth: This is perhaps the most important adjustment. If you're not getting bites, change your depth! If it's sunny and hot, bream might be deeper, seeking cooler water and shade under structure. In the early morning, late evening, or on overcast days, they might move shallower to feed. Start at 2-3 feet, and if no luck, try 4-5 feet, then even shallower at 1 foot. Sometimes, just a six-inch change can be the difference. This is where a slip bobber really shines, allowing for easy depth changes without re-tying.
- Location: Don't get stuck on one spot. If a particular area isn't producing after 10-15 minutes, move! Work around different types of structure: try a shady bank, then a patch of lily pads, then a submerged tree, then a dock. Bream often congregate in schools, so finding one usually means finding many. Exploring the Best Fishing Spots in South Carolina can give you a great head start.
- Time of Day: While bream can be caught all day, they are often most active during cooler parts of the day – early morning and late evening. During the heat of midday, they might retreat to deeper, shadier areas. Overcast days can extend their active feeding periods.
Common Challenges and How to Overcome Them
Every angler faces challenges. Knowing how to troubleshoot helps turn frustration into resolve.
- No Bites? First, check your bait. Is it fresh? Is it presented naturally? If using live bait, is it still lively? Then, adjust your depth and location as discussed above. Also, consider the size of your hook – if you're getting nibbles but no hook-ups, your hook might be too large, or the bait is too big for the bream's mouth. Sometimes, a slight twitch or very slow retrieve of your bobber rig can trigger a strike.
- Snags and Hang-ups: Fishing around structure is key for bream, but it also means snags are inevitable. If you're constantly getting hung up on the bottom or in weeds, try shortening your leader and fishing a bit shallower, or using a weedless hook design. If you get snagged, pull steadily rather than yanking. Sometimes you can free the hook, but be prepared to lose some tackle. Carrying extra hooks, weights, and pre-tied leaders can save a lot of time and frustration.
- Tangled Lines: "Wind knots" or general tangles can happen, especially with lighter line. This is often caused by over-casting, strong winds, or not keeping enough tension on your line during the retrieve. Make sure your reel is properly spooled, and try to cast with a smooth, controlled motion. If a tangle does occur, take a moment to carefully untangle it rather than yanking, which usually makes it worse.
- Small Fish Only: If you're catching a lot of tiny bream, but no bigger ones, try increasing your bait size slightly or moving to a different location. Larger bream often prefer slightly larger meals and might hang out in different parts of the same structure. Or, if the goal is just to catch fish, celebrate every bite!
Catch and Release vs. Keeping Your Catch
South Carolina is blessed with abundant bream populations, and they make for excellent table fare. However, responsible angling means making smart choices.
- Regulations: Always be aware of South Carolina Fishing Bag Limits Explained for bream and other panfish. Generally, limits are quite generous for bream, but it's good practice to check current regulations from the SCDNR.
- Sustainable Harvest: While bream reproduce quickly, taking only what you'll eat helps ensure healthy populations for future generations. If you're catching a lot, consider keeping a mess for dinner and releasing the rest.
- Handling Fish: If you plan to release fish, handle them as little as possible. Wet your hands before touching them to protect their protective slime coat. Remove the hook quickly and gently. If a fish is deeply hooked, sometimes cutting the line close to the hook is better than trying to dig it out, as this can cause more harm. If you want to keep them, have a cooler with ice ready to put them on immediately.
Fishing for bream with a bobber is more than just a technique; it's an experience rooted in simplicity, accessibility, and the pure joy of being outdoors. With a little knowledge and patience, you'll be well on your way to enjoying countless successful days on the water, whether you're alone or sharing the tradition with family and friends.
Disclaimer
This article is for general informational purposes only and does not constitute professional advice. Laws, prices and regulations vary by location and change over time. Consult a qualified professional for guidance on your specific situation.